Upgrading your furniture - easy DIY kitchen project with decoflair
Getting tired of your furniture’s look does not necessarily mean buying new units is the only solution. Indeed, furniture renovation and upcycling are some of the cheaper ways to make your furniture feel new and exciting again.
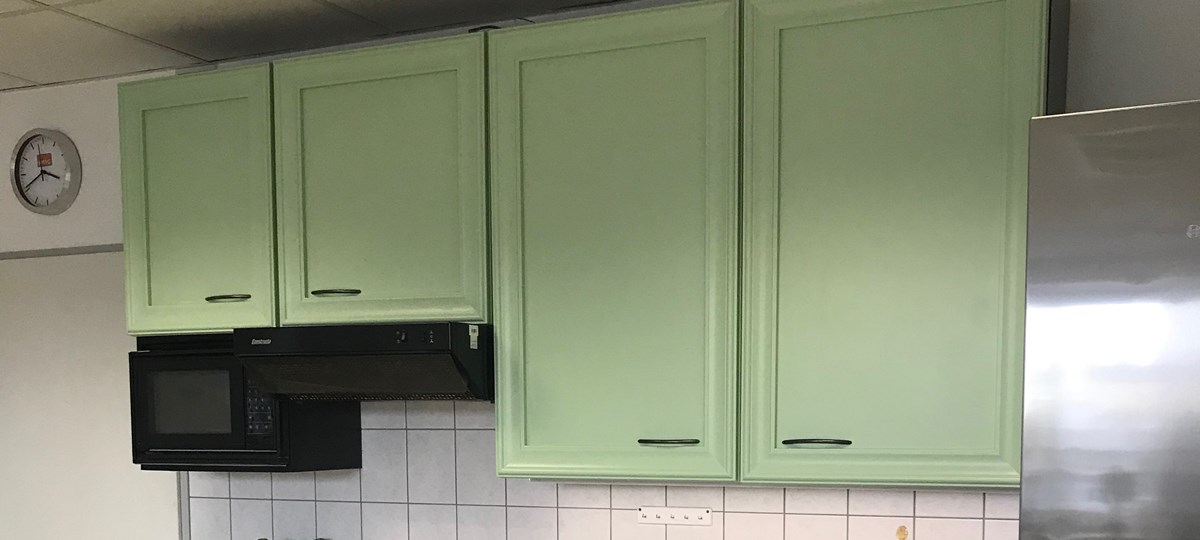
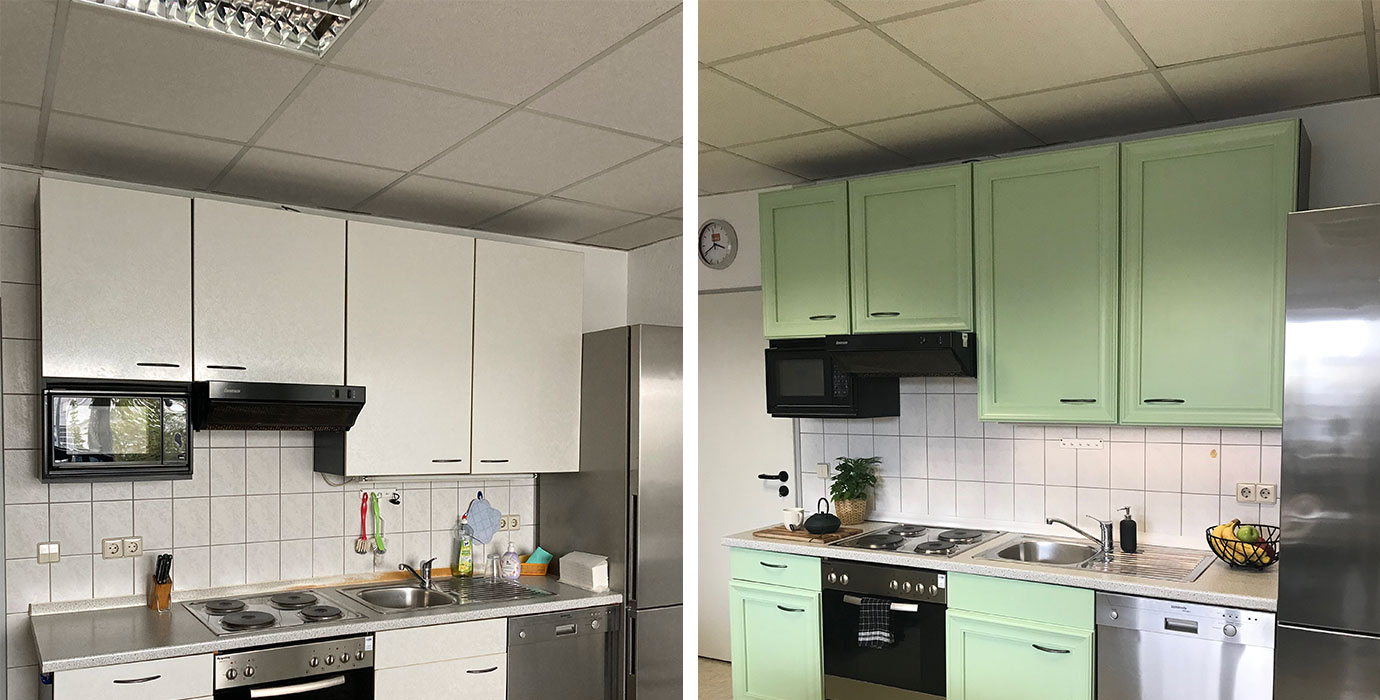
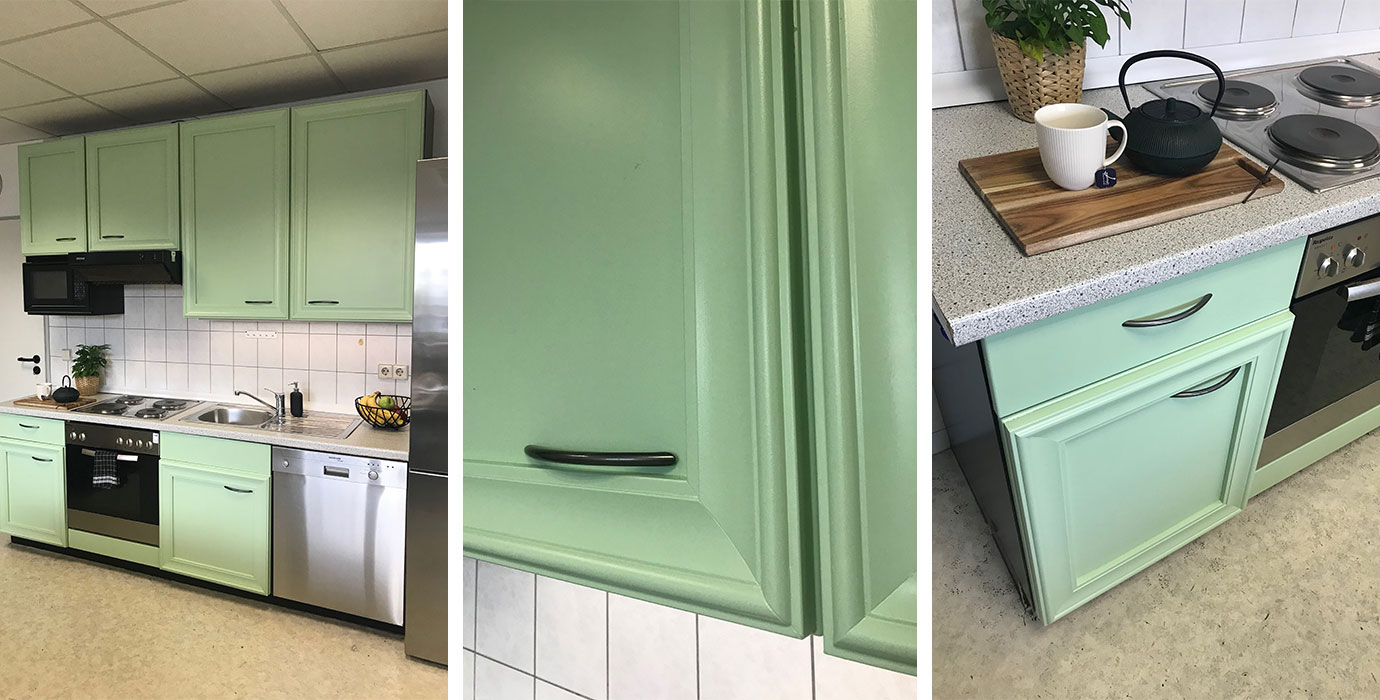
In this DIY project, we took to our office kitchen, which was in need of a serious makeover. Through this article, we hope to show you how versatile the decoflair mouldings are and how easily you can use them to give your furniture a new life too.
What you'll need
The ideas you can take from this DIY project are of course applicable to many other pieces of furniture than kitchen cupboards. The quantities and amounts will also obviously vary according to what you want to do with the profiles and the dimensions of your furniture. What is important here, is the inspiration you can take and the step-by-step process, which will always remain the same. Here’s what was needed for this particular project:
Essential decoflair items
- 8 lengths of the decoflair CO3 chair rail (75x20x2000mm)
- Decoflair MB2 mitre box
Other must-haves
- 1 bucket of paint in light pastel green (1l) à make sure to take paint that is suitable for furniture
- 2 cartridges of hybrid polymer glue for non-absorbent surfaces
- Screwdriver
- Large tooth saw r circular saw)
- Paint roller
- Sander
- Cartridge applicator gun
- Pencil
- Tape measure or folding rule
- Paint brush
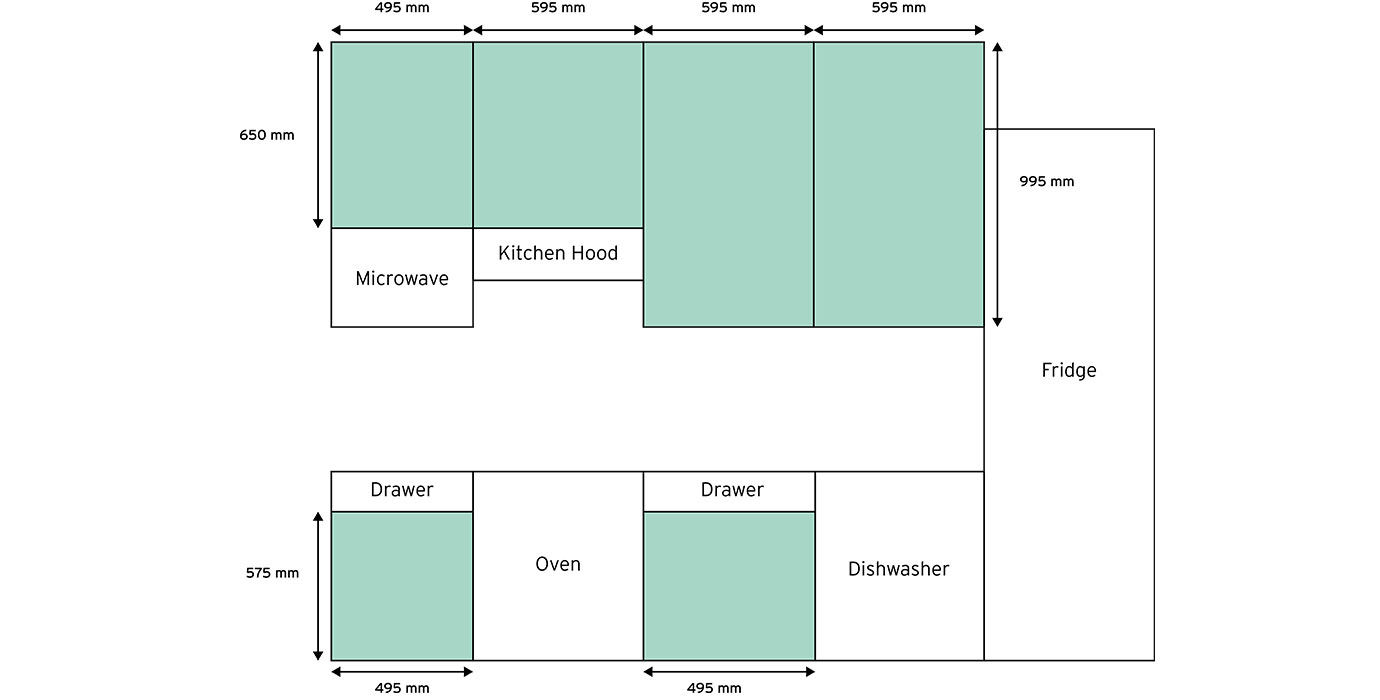
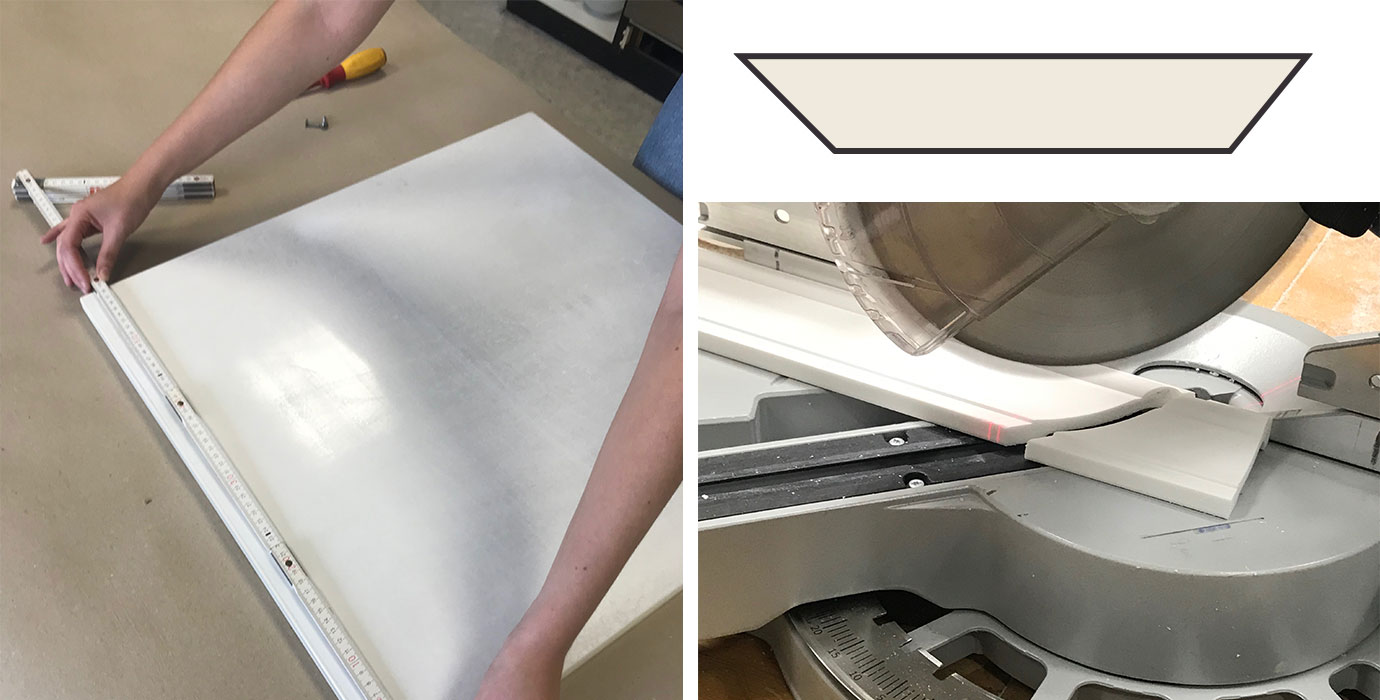
STEP 1: PLAN CAREFULLY
Planning your layout and taking your measurements correctly are always vital steps before getting started. For this project, we decided to opt for the CO3 chair rail, which curves and uneven design we believed would add some texture and an interesting change to our furniture.
Insider tip: before getting started, we recommend that you test and check that you will still be able to open the doors of your furniture once the mouldings are fixed. Indeed, the installation of a moulding on the doors makes them thicker and may lead to them not opening properly.
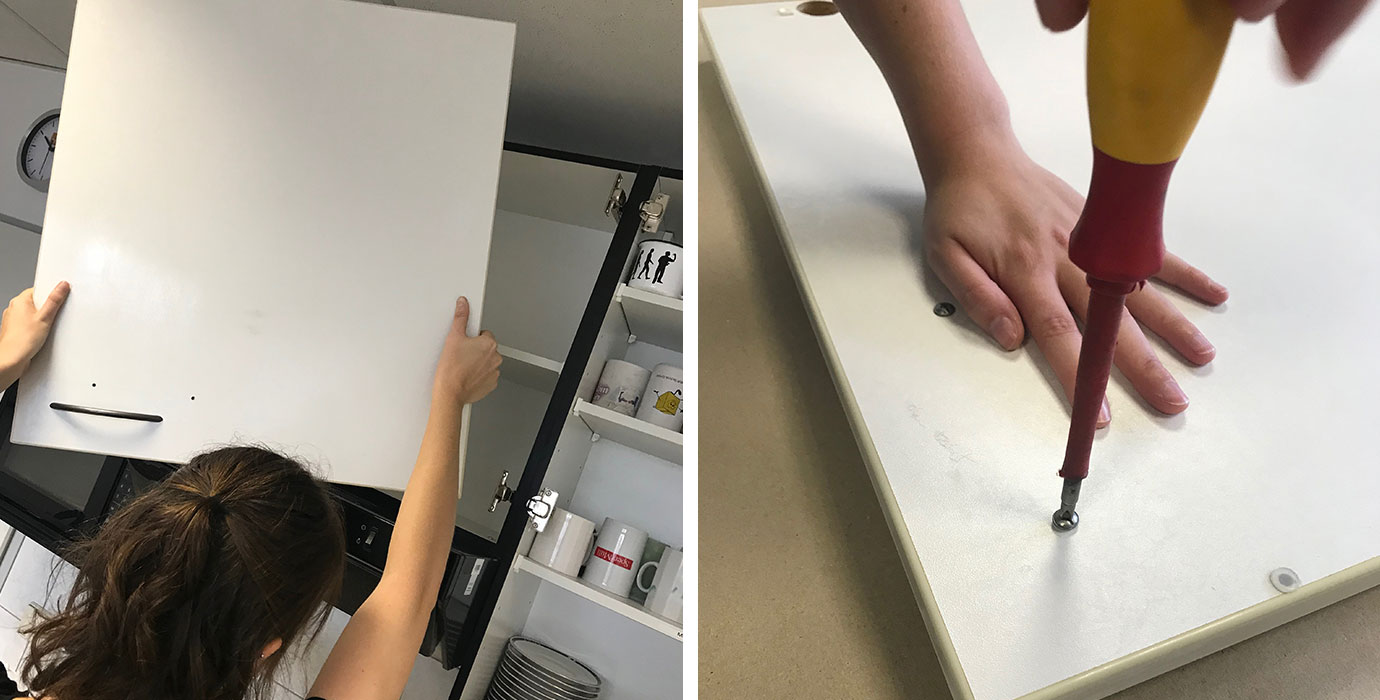
STEP 2: DISMANTLING THE CUPBOARD
Using a screwdriver, remove the cupboard doors and the handles on them to facilitate the decorating and painting.
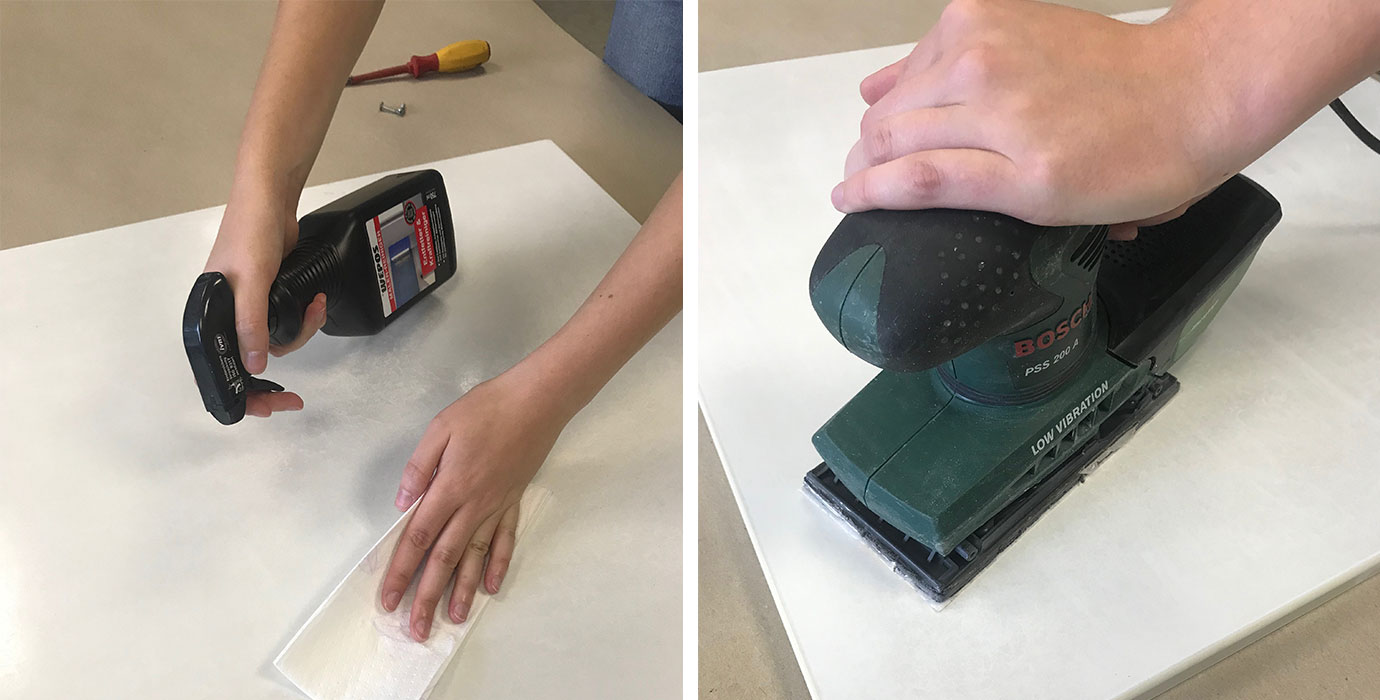
STEP 3: PREPARING THE SURFACE
Start by cleaning the surface of the cupboard doors using a good power cleaner. Sanding your furniture is an important step, especially if the surface is varnished. Sanding will help smoothen and level the surface and make sure the paint as well as the glue necessary to fix the chair rails will adhere.
STEP 4: CUTTING THE PROFILES
Once you’ve got your measurements figured out and the application surface is ready, get your chair rails to size and cut two 45° interior angles on both ends of the chair rails using a mitre box and saw or circular saw. When you’re done, your cut profile should look like this:
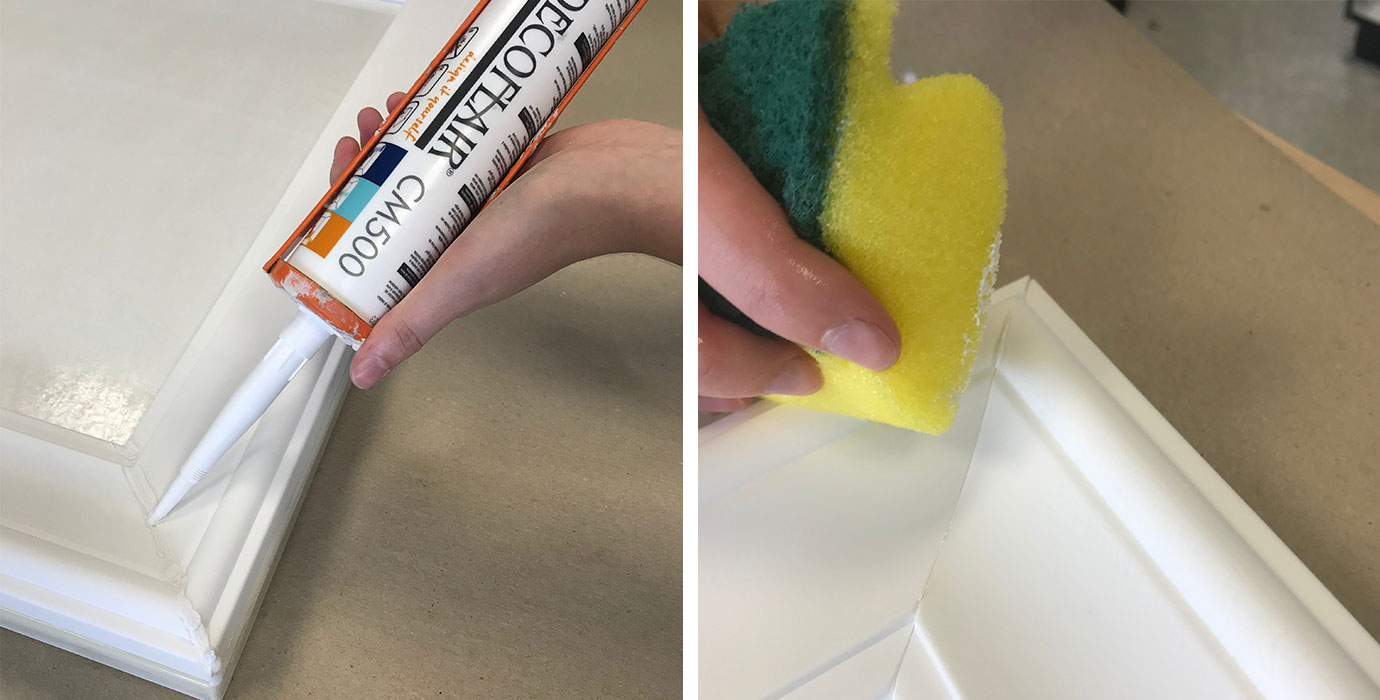
STEP 5: FIXING THE PROFILES TO THE CUPBOARD DOORS
Now that the profiles are cut and the surface has been treated, it’s time to decorate it. Using a cartridge gun, apply two fine strips of glue on each gluing surface at the back of the chair rail and fix it, using a bit of pressure.

Insider tip: Apply a strip of glue on the cut edges to make sure the fixed chair rails are as stable as possible. You can remove any excess glue using a damp sponge.
STEP 6: FILLING THE JOINTS
After a resting time of a few hours, fill in the joints using the decoflair glue and remove any excess glue using a damp sponge.
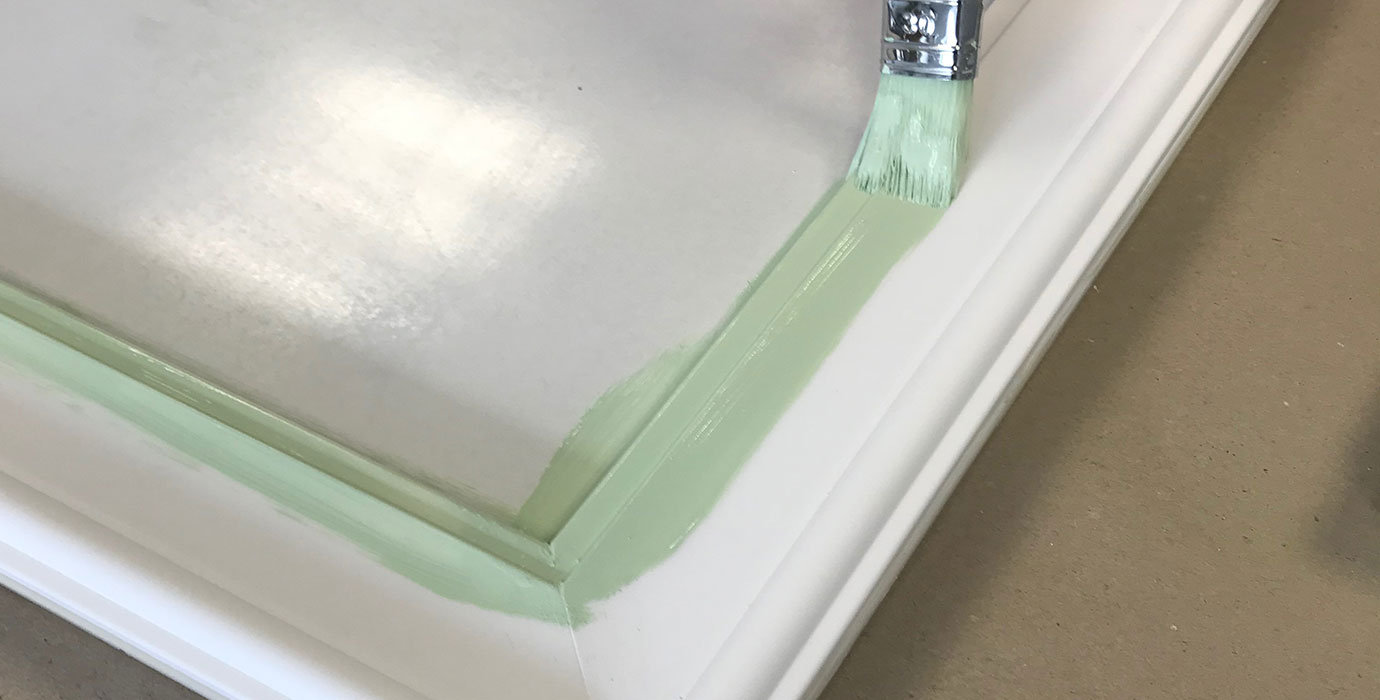
STEP 7: PAINTING THE CUPBOARD DOORS
Grab your paint roller and apply two coats of paint on the surfaces for an optimal result. Areas that are trickier to reach such as corners can be easily painted with a brush.
STEP 8: PUTTING IT BACK TOGETHER
After letting the paint dry for about 6 hours, you can piece your furniture back together and enjoy the final result!
BONUS FEATURE
Integrate lighting in 2 simple steps!
We knew that integrating a lighting profile on this cupboard would not only make the unit look better but would also serve a very practical purpose. For this bonus step all we needed more was one length of our decoflair CL14 indirect lighting profiles, an LED light strip and a pair of scissors.
Insider tip: before getting started, check with an electrician for the connection of your LED lights to a power and electricity source.
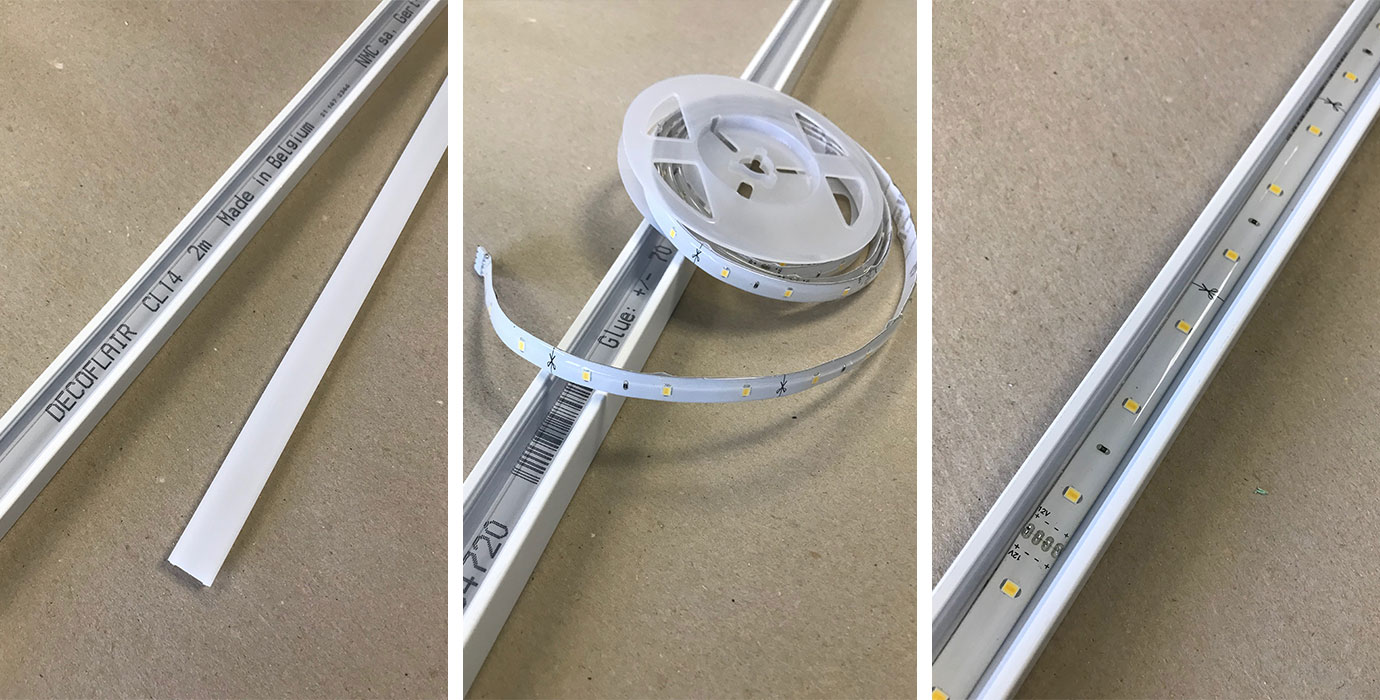
STEP 1: PREPARING THE PROFILE
Measure the length of the surface where you will fix your lighting profile, mark it on the profile and cut it to size with a straight 90° angle using a mitre box and saw or a circular saw. You can simply leave the diffuser clipped in and cut it with the profile. Then cut your LED light strip to size with some scissors, always making sure to cut on the intended cutting lines. Remove the diffuser by pinching one end and simply peeling it away then fix the LED strip to the bottom of the profile and put the diffuser back on by placing it above the gap and lightly pushing with your fingertips until you feel it clip in.
STEP 2: FIXING THE PROFILE TO THE CUPBOARD
Apply a fine strip of glue to the back of the lighting profile and place it on the cupboard.
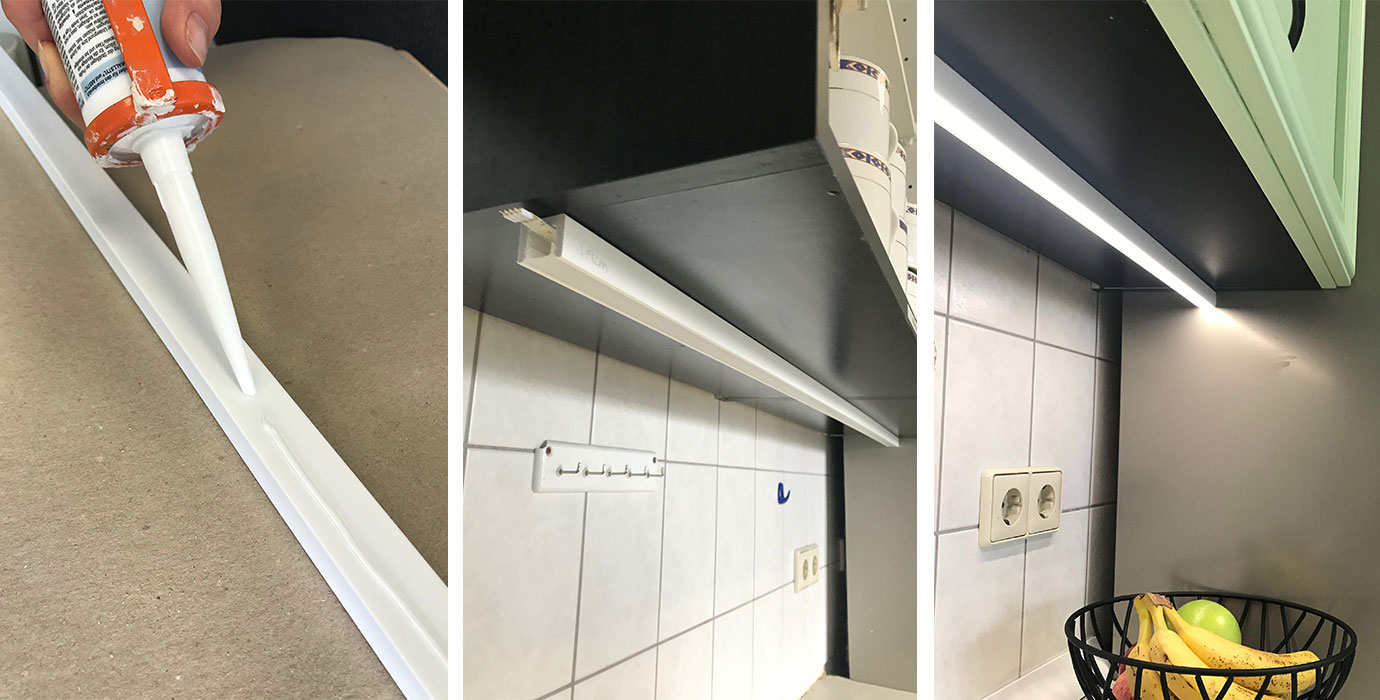
All that is left to do is let the paint dry and hook your LED light strip to an electricity source. And there’s a sharp looking, fully upgraded and customized kitchen unit!
Associated products

Decoflair CM500 (310 ml)
Glues
68 mm x 235 mm x 48 mm (1 pc / pc)
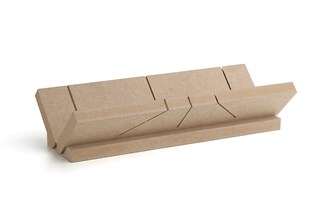
MB2 decoflair
Tools
350 mm x 150 mm x 150 mm (1 pc / pc)