Installing decoflair cover skirtings like a pro
In this article we look back at our collaboration with content creator and interior design lover Eléonore Magni. We were lucky enough to work with Eléonore on the renovation of her living room using decoflair cover skirtings, and to discover her world of DIY and interior design.
« Nothing is lost, everything can be renovated »
That's Eléonore's motto. A big fan of DIY, decorating and DIY, the young Frenchwoman lives on the outskirts of Lyon with her family. Through her Instagram account @montoutmontoit.deco (which currently has almost 91,000 followers) and her blog, she inspires members of her community to transform their living spaces and decorate their interiors themselves. Make sure to follow her for lots of inspiration, tutorials and DIY ideas for your home!

Presentation of the project
For the project in her living room, Eléonore decided to call on decoflair to modernise her skirtings and the room’s finishing touches.
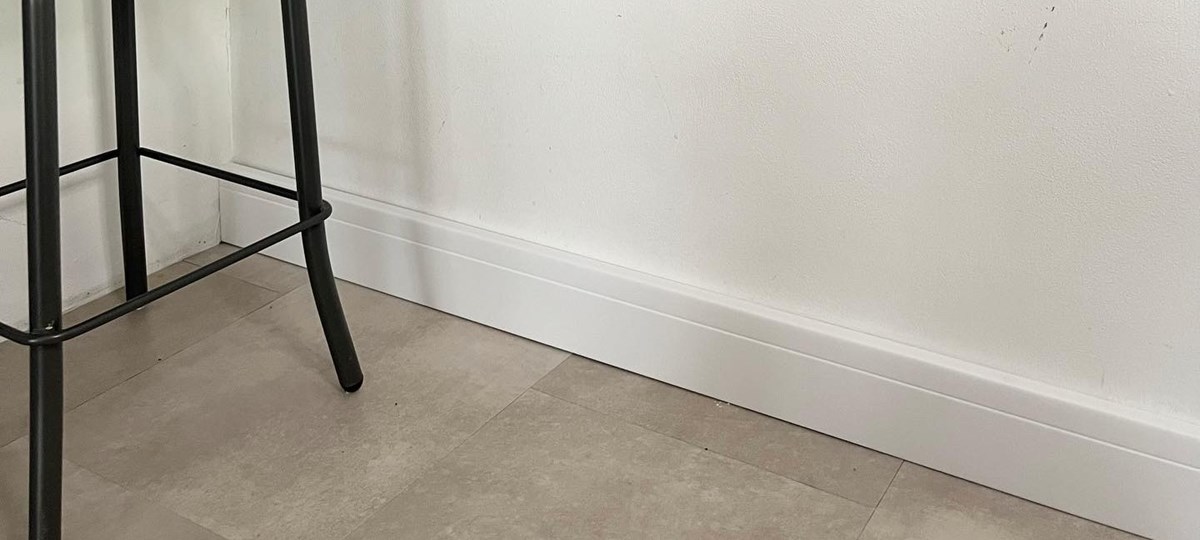
She explains “I used and discovered the system of cover skirtings when renovating my living room. After renovating the floor, the old, tiled skirtings no longer matched the new flooring and I didn't want to remove the old tiles for fear of damaging the wall. I found the solution of cover skirtings extraordinary, because I could afford modern skirtings without having to do any major work. The result is very attractive and the quality is really good.”
To do so, Eléonore decided to use the CBC2, a cover skirting with an angular, minimalist design to ensure a neat, clean finish.
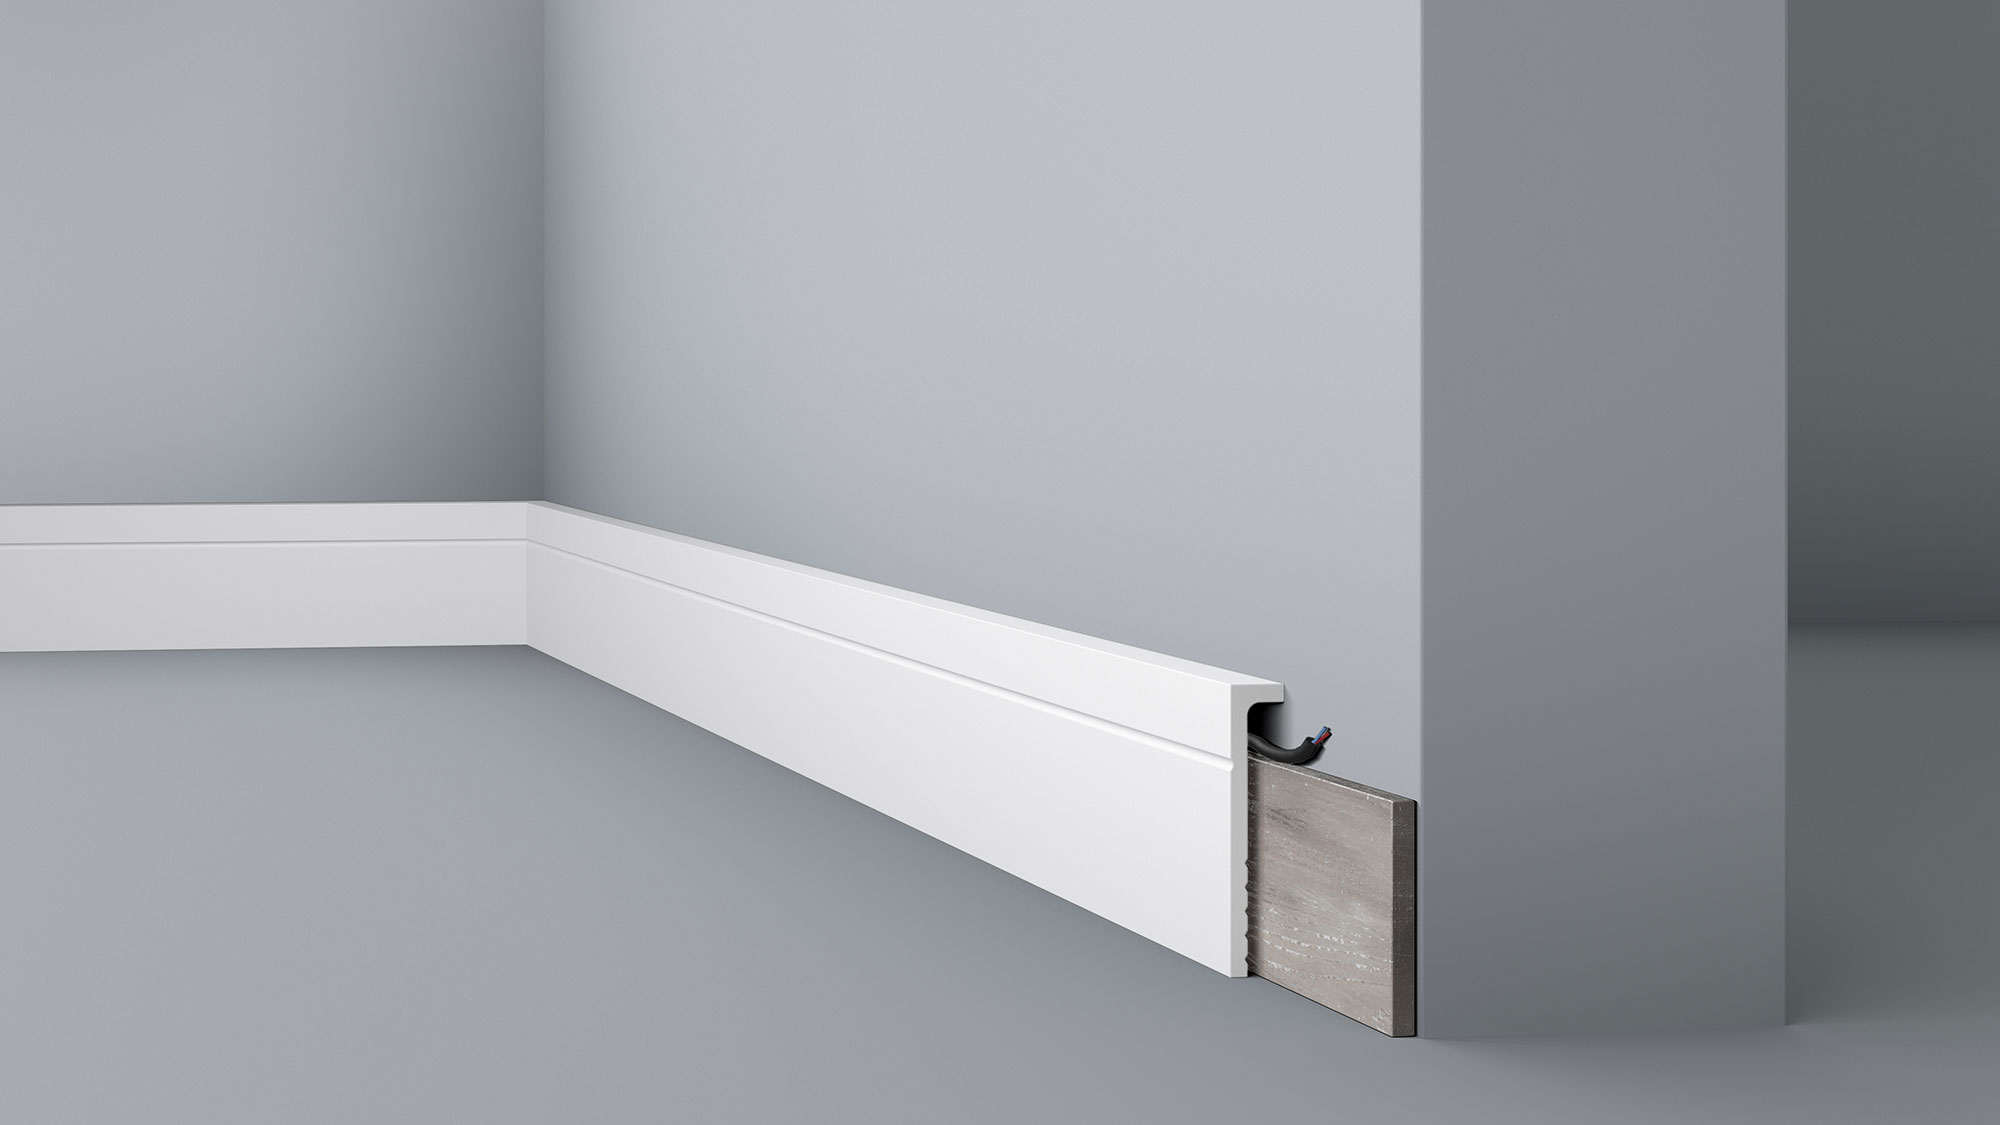
"With the design I chose, I was able to treat myself to a more modern, streamlined style that was totally in keeping with my renovation project," she told us.
Installation and tips
Eléonore shows us just how easy it is to install the products in her Reel: “installation is relatively straightforward; all you have to do is cut and glue basically. You might expect the corner cuts to be tricky, but with a mitre box, no worries! The cuts can be made using a saw, and the material is easy to cut.”
You can also take a look at her blog article for a more detailed explanation of the process.
Eléonore's tip: “don't forget the finishing touches - after fitting the skirtings, the joint with the wall makes all the difference!”
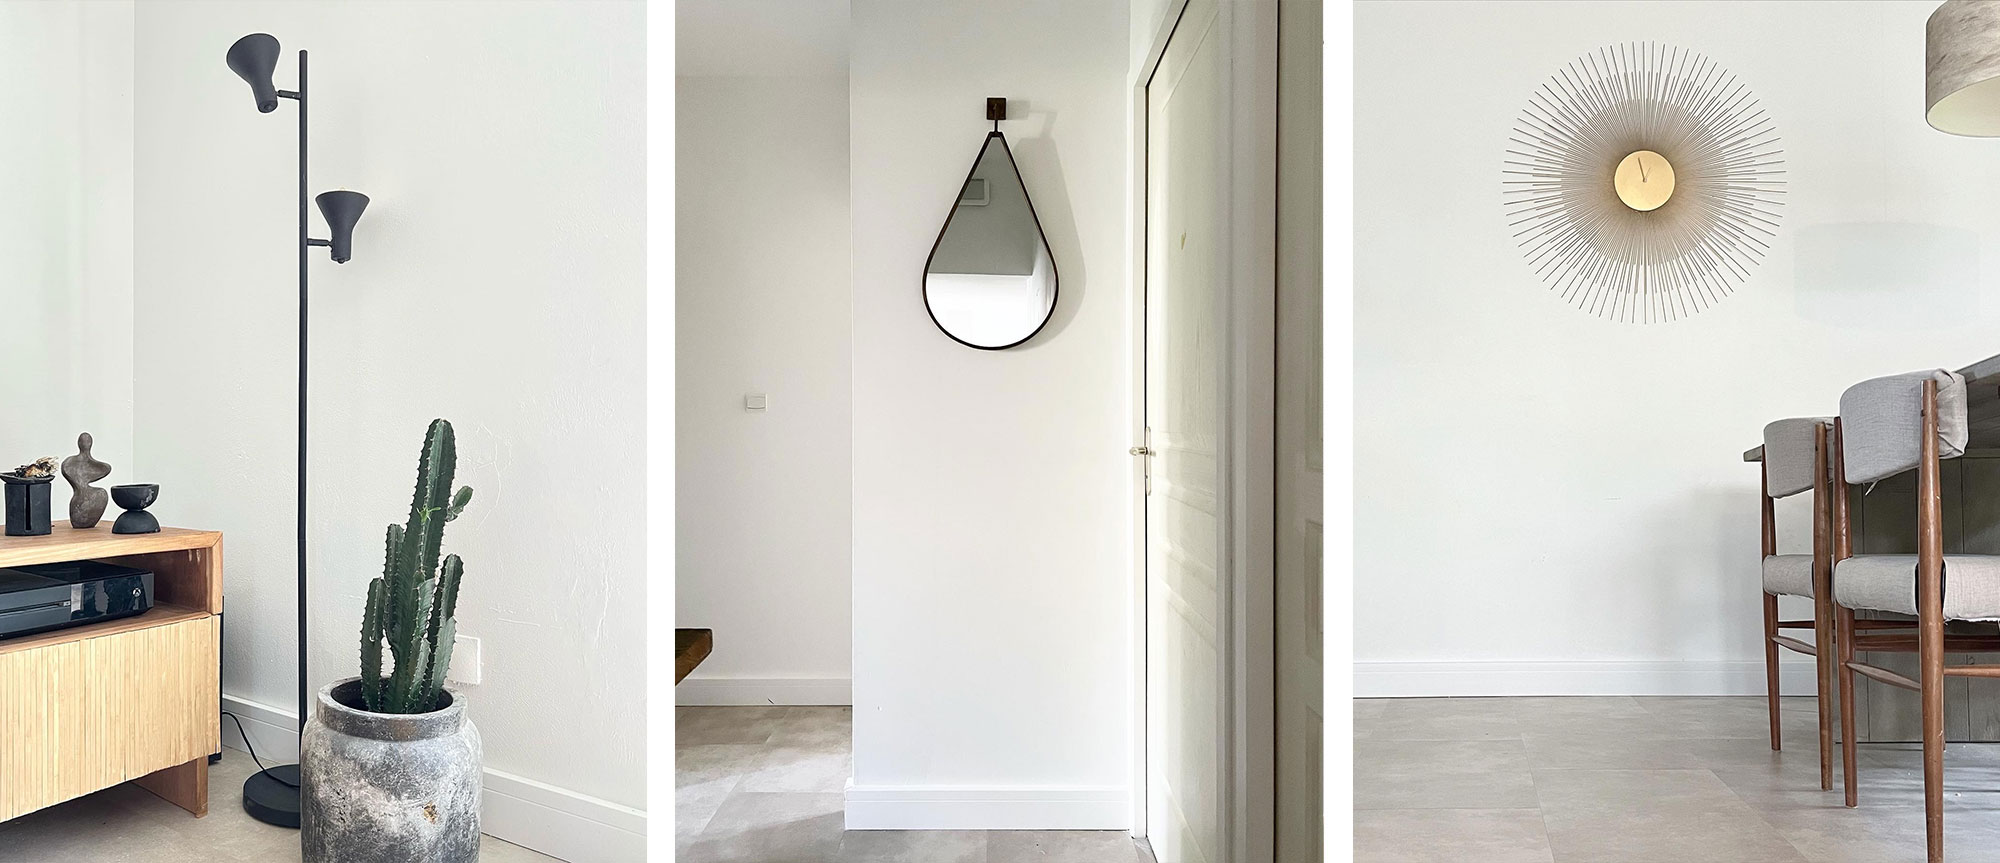
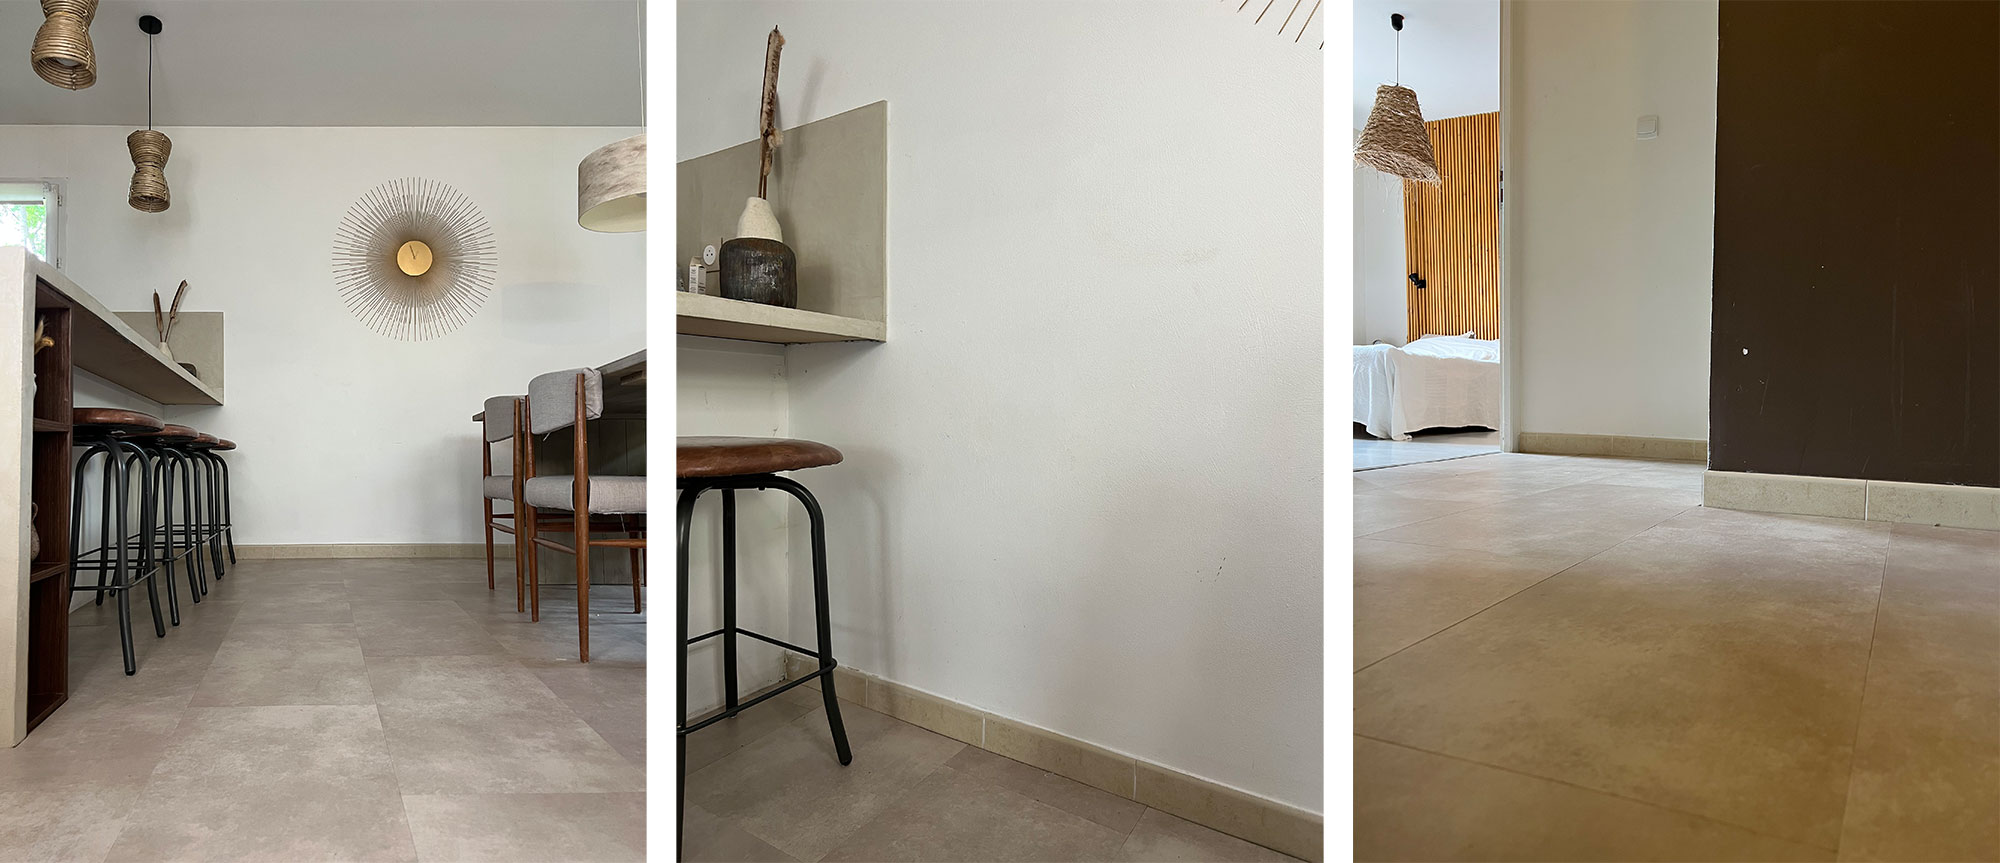
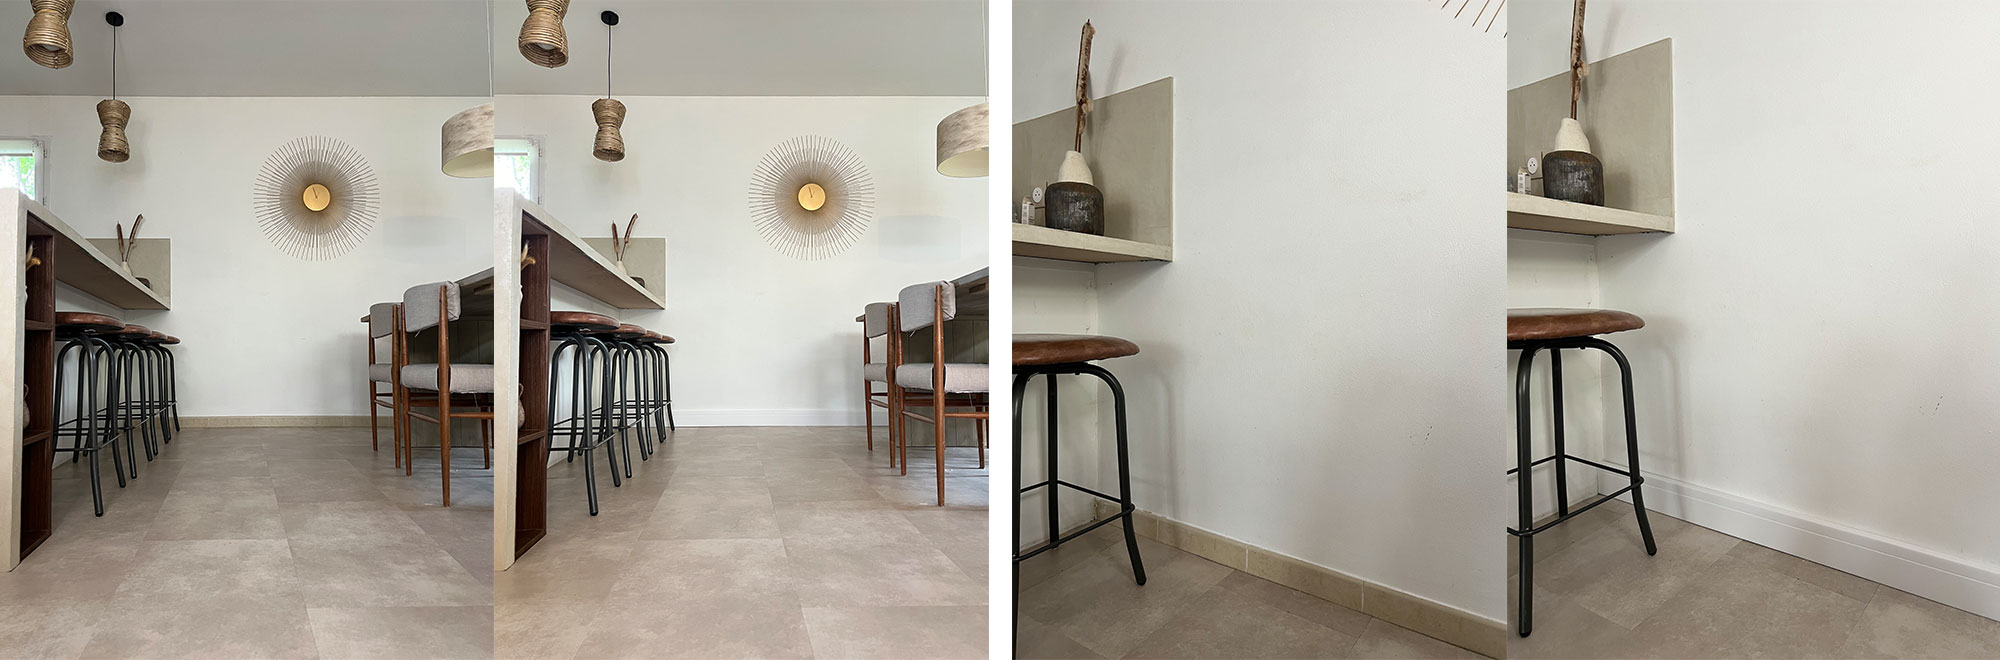
The final result
Here's a quick look at the result, with a revealing before-and-after impression. The cover skirtings have saved Eléonore time and money and blend in perfectly with her new living space.
For those of you who want to start renovating or decorating your home with decoflair, here's what Eléonore has to say: "installing cover skirtings is the kind of project that can be a little scary, but in the end is very satisfying for two reasons: the speed of installation, but above all the difference made by the product! So if you're still unsure, don't hesitate any longer.”